

If you’ve noticed a leak in your tankless water heater in Charleston, SC, it’s crucial to address it promptly to avoid further damage. Start by pinpointing the source of the leak to guide your next steps. You’ll need some basic tools and safety measures before making any repairs. Curious about how to tackle this issue effectively? Let’s break it down step by step.
Identify the Source of the Leak
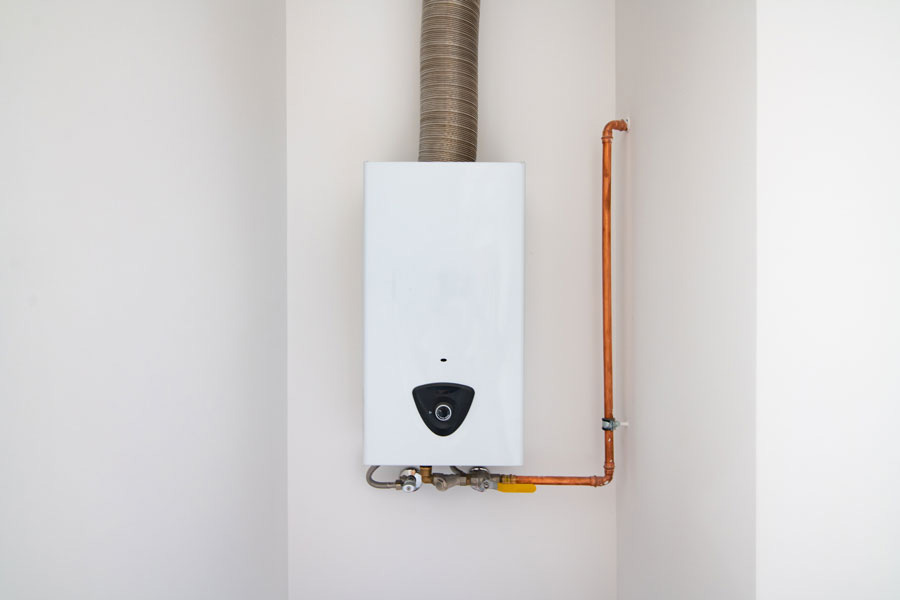
How can you pinpoint the source of a leak in your tankless water heater? Start by checking the connections and valves. Look for any visible moisture around the inlet and outlet pipes. If you see water pooling beneath the unit, it’s likely a plumbing connection issue.
Next, inspect the pressure relief valve; it can leak if it’s malfunctioning. Listen for hissing sounds, which indicate a potential leak. Don’t forget to examine the heat exchanger; cracks can cause water to escape.
If you’re still unsure, consider using a flashlight to inspect hard-to-see areas. Sometimes, the source might be hidden, so take your time. Additionally, ensure that you are aware of the annual maintenance recommendations for optimal performance, as this can help prevent future leaks.
Gather Necessary Tools and Materials
Before diving into repairs, gather the necessary tools and materials to guarantee a smooth process.
You’ll need a few necessities: a pair of adjustable wrenches, screwdrivers, and pliers. Make sure a bucket is handy to catch any excess water.
If you’re replacing parts, grab the specific replacement components for your tankless heater model. Don’t forget plumber’s tape and a rag for quick clean-ups.
Having a multimeter can likewise help you check electrical components if needed.
Finally, wearing gloves protects your hands and keeps everything sanitary. Additionally, ensure you understand the importance of proper setup to prevent future leaks.
Shut Off the Water and Power Supply
To guarantee a safe and effective repair, you need to shut off both the water and power supply to your tankless water heater.
Start by locating the main water valve, usually found near the heater or where the water line enters your home. Turn it clockwise to stop the water flow.
Next, find the power supply switch or circuit breaker. If it’s electric, turn off the switch; for gas heaters, set the thermostat to the “off” position. This step is essential to prevent any accidents while you work.
Taking these precautions not only protects you but also guarantees that your repair process goes smoothly. Fast, dependable water heater repair services are available if you encounter any issues.
Remember, you’re not just fixing a leak; you’re maintaining a critical part of your home. If you ever feel uncertain, don’t hesitate to reach out for help.
At Palmetto Plumbing, we’re always here to support you through your plumbing challenges.
Repair or Replace Damaged Parts
Once you’ve shut off the water and power, it’s time to assess the damage to your tankless water heater.
Start by inspecting the unit for visible signs of damage, such as cracks or corrosion in the heat exchanger, valves, or connections. If you notice any broken components, you’ll need to decide whether to repair or replace them. For minor issues, like a loose connection, a simple tightening may suffice.
Nevertheless, if the damage is extensive or affects vital parts, replacing them is likely the better option. Additionally, consider consulting a licensed, experienced team for accurate leak detection to ensure all issues are correctly identified.
Before making any decisions, consider the cost of repairs versus the price of a new unit. Sometimes, investing in a new water heater can save you money and hassle in the long run.
Test the System and Check for Further Leaks
After you’ve made the necessary repairs, it’s crucial to test the system and check for any further leaks. Start by turning the water supply back on. Watch for any signs of leaking around the repaired areas. If you notice water pooling or dripping, you should tighten connections or reapply sealant.
Next, turn on the hot water taps throughout your home. This helps to circulate water through the system, allowing you to identify any leaks that may not have appeared during the initial test.
Don’t forget to listen for unusual sounds, like hissing or gurgling, which can indicate underlying issues.
Once you’ve confirmed everything is secure, take a moment to feel a sense of accomplishment. You’ve taken essential steps to guarantee your water heater runs smoothly, keeping your home comfortable and safe.
If you spot any persistent leaks, reaching out to a trusted local plumber is a wise choice.
Conclusion
Once you’ve tackled the leak and everything’s back in place, take a moment to appreciate the quiet hum of your restored tankless water heater. Just like the gentle rhythm of the nearby Charleston waves, your home’s comfort flows smoothly again. You’ve not only fixed a problem but likewise guaranteed warm showers and cozy evenings ahead. So, sit back, relax, and let the soothing warmth surround you, knowing you’ve successfully navigated this repair journey.